Salesforce Integration Documentation
Salesforce is one of rasa.io's most popular integrations. With this integration, you can seamlessly sync your Salesforce contacts into the dashboard. The integration is a 2-way sync that runs daily, overnight. Enterprise level plans also have the option to sync rich topical and engagement data back into their Salesforce. For more information on that installation, see the last section of this article or reach out to your Customer Success representative.
To connect to Salesforce, go to Contacts > Import Contacts > Import from Third Party Applications > Salesforce. More details on the different options and requirements for this integration are listed below.
Syncing All Contacts
The All contacts sync is the default. Once you click authenticate and successfully log into your Salesforce account, you will be prompted to confirm your decision and then the sync will begin immediately.
Syncing Using Custom Fields
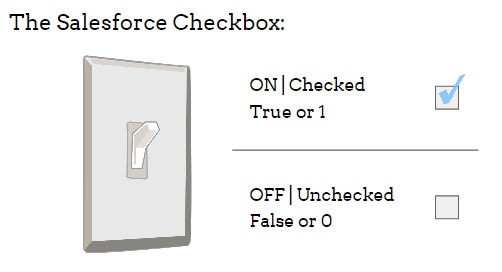
If you only want to sync a portion of your Salesforce contacts, those contact records must have a true/false checkbox field attached to them. For example, if your Salesforce houses prospects and customers but you only want to sync customers for the newsletter, you will need to create or provide us with that checkbox field that you use to differentiate those records from the rest. We use this field to determine which records should be brought into rasa.io. If at any point on the Salesforce side, this box gets unchecked for a contact, they will no longer sync into rasa.io and their historical newsletter activity data will be archived and inaccessible through our dashboard. This is why we recommend using the 2-way sync and allowing us to send back an 'Unsubscribed' checkbox to your system (more on that below).
Here are some examples of custom checkbox fields and how they are typically formatted in Salesforce:
Newsletter_List__c
or
Active_Client__c
If you need to locate or create a field, you can usually do this in your Account > Object Manager page.
Contact your Customer Success rep or support@rasa.io for assistance with this.

Syncing Unsubscribed Data
You should always allow rasa.io to send back an unsubscribed checkbox for those who have opted out of the newsletter. The only scenarios in which you can utilize a 1-way sync (and only use one checkbox to determine who gets the newsletter) is if you are routing the unsubscribe request through your own preferences page which auto-unchecks the box if someone unsubscribes OR if you are using the default rasa.io unsubscribe link and managing unsubscribes in the dashboard only. We still recommend doing a 2-way sync in those scenarios so that we don't archive and lose the rasa.io data if a previous subscriber gets "un-checked" in Salesforce. If you choose to do a 1-way sync and fail to uncheck contacts who opt out via your own unsubscribe URL, you will put yourself in danger of re-subscribing contacts who previously opted out and violating CAN-SPAM law.
You will need to create our unsubscribed checkbox field in Salesforce - this will be displayed on the Integrations page after you authenticate your account. We do allow for this field to be custom as well. If you want to use a custom field for the unsubscribe checkbox, contact your Customer Success rep.
To sum it up, the Salesforce integration typically requires 2 checkbox fields. One to tell us who should be in the rasa.io dashboard and another one for us to communicate the opt-outs back to you.
Installing the Rich Integration:
On your integrations page, select the Salesforce - Rich option here. From there, you will need to click the link to Install rasa.io Rich Integration Fields. This will automatically create the custom fields so that you do not have to create them manually.

The fields included in the package are listed below. These will attach to the Person Object:

Once the Installation Package is installed and you have selected the fields for the subscriber sync detailed above, just click connect on the Integrations page of the dashboard.
When the sync is complete, you will be able to view the rich engagement data on your contact records. Here is an example of what it will look like:

![new_rasa_io-mark.png]](https://help.rasa.io/hs-fs/hubfs/new_rasa_io-mark.png?height=50&name=new_rasa_io-mark.png)